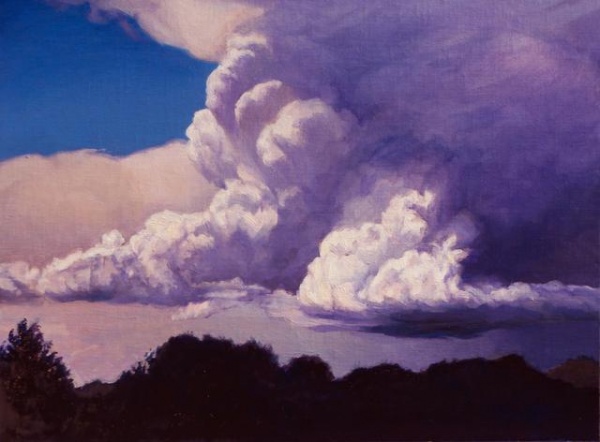
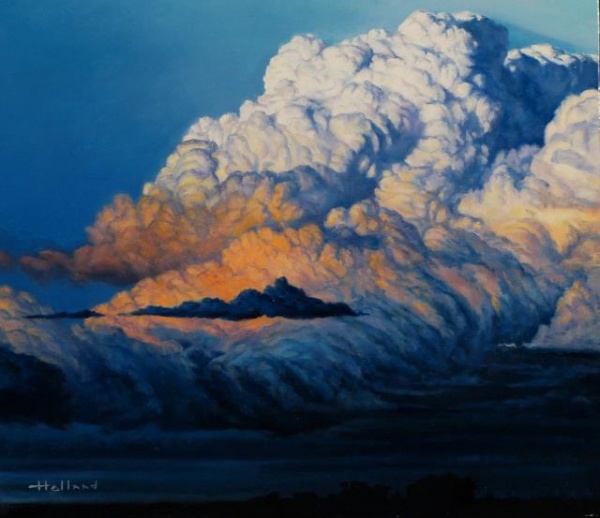
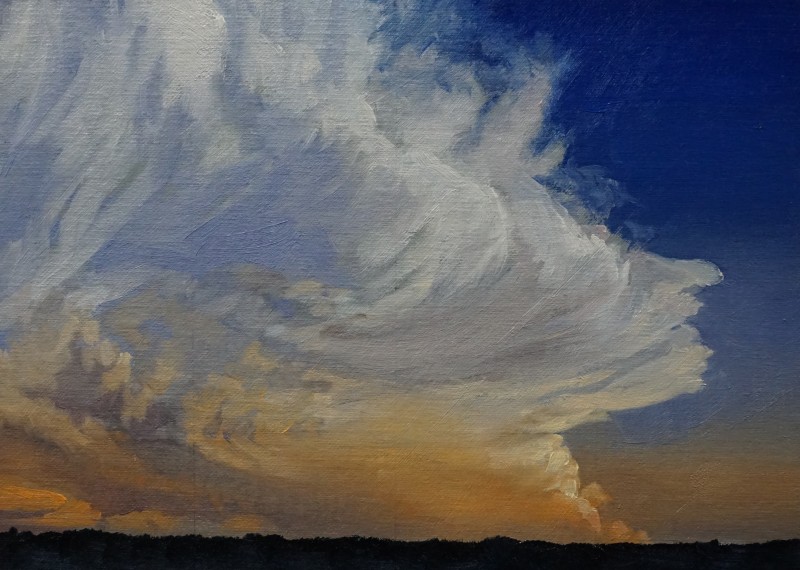
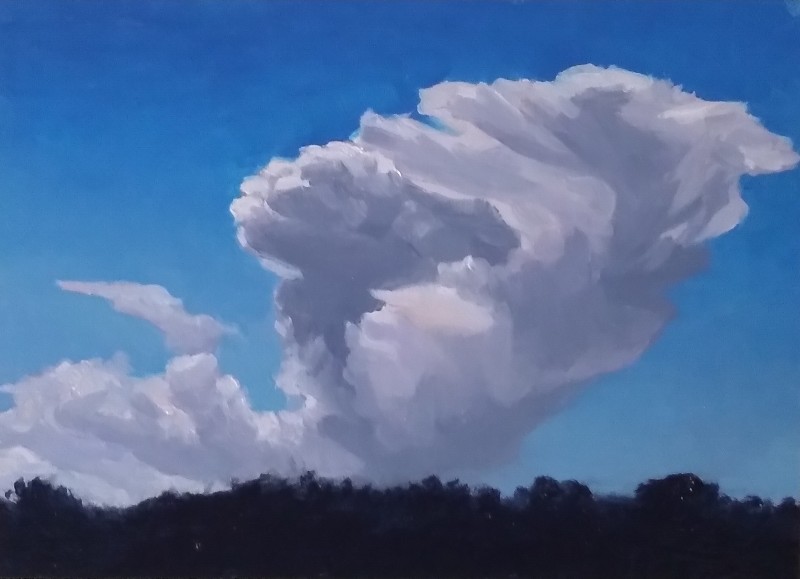
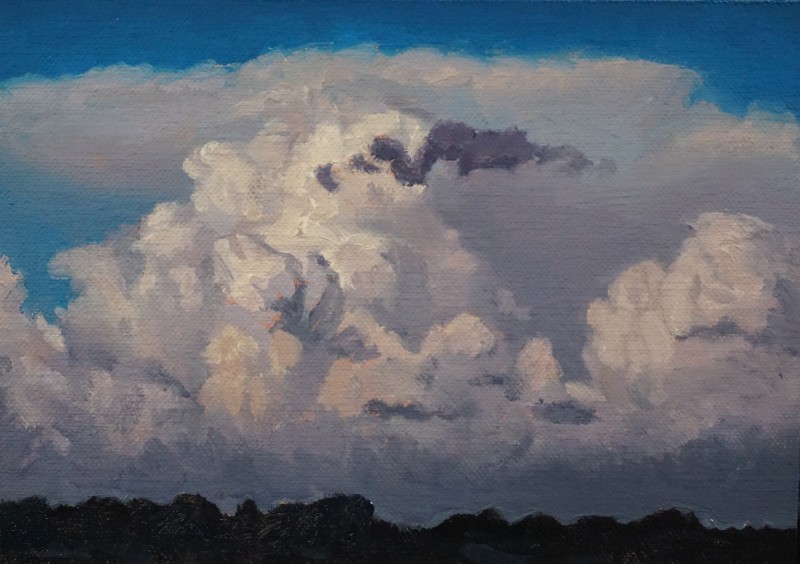
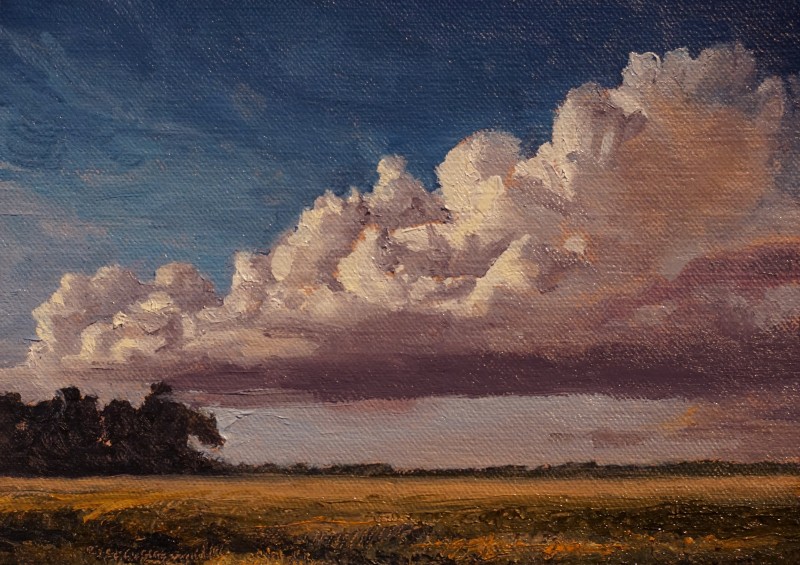
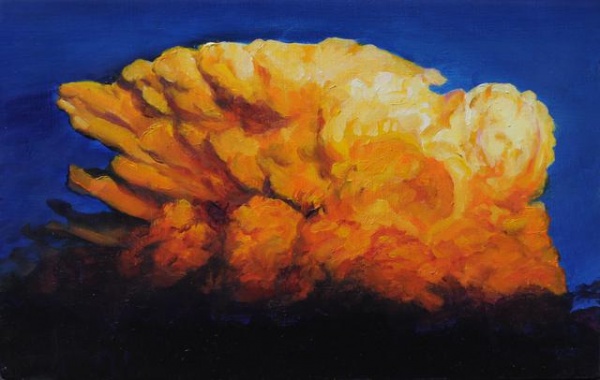
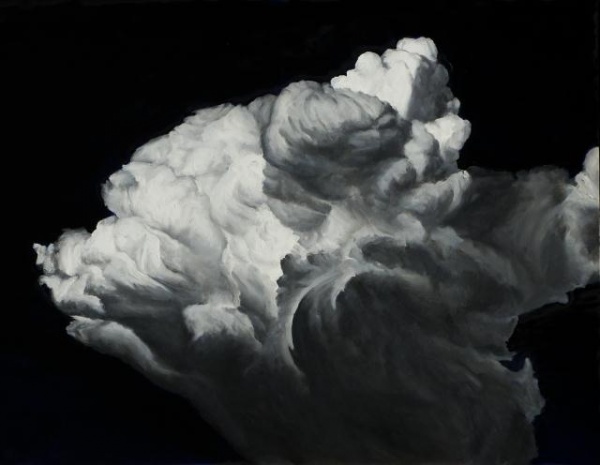
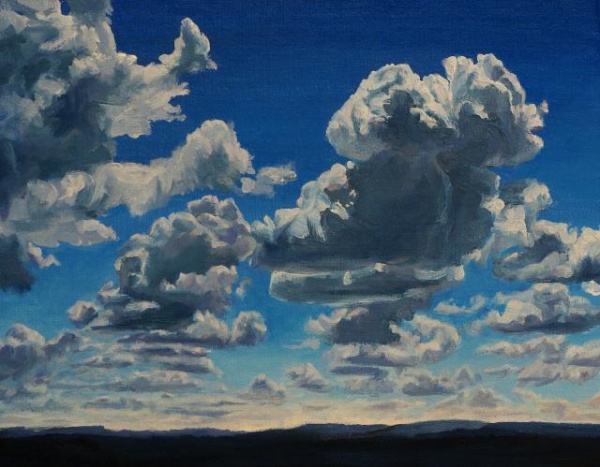
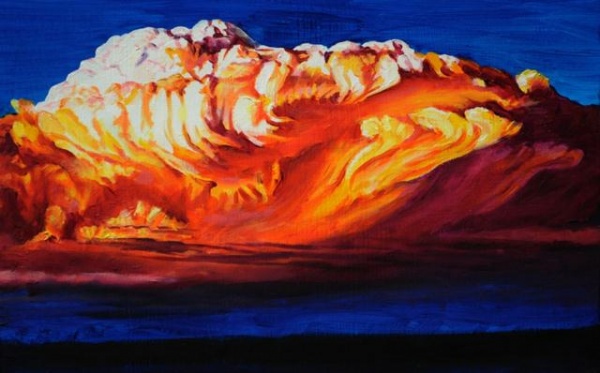
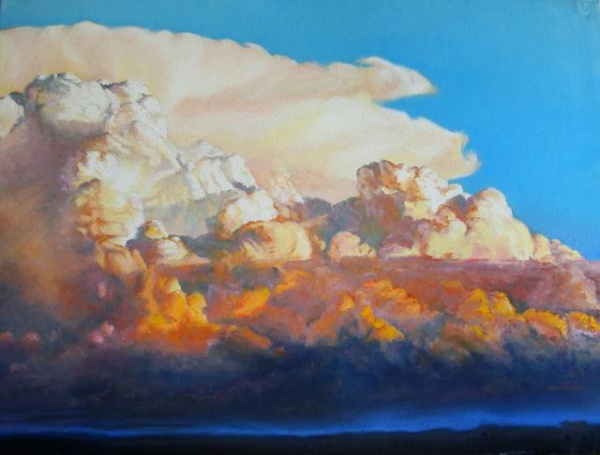
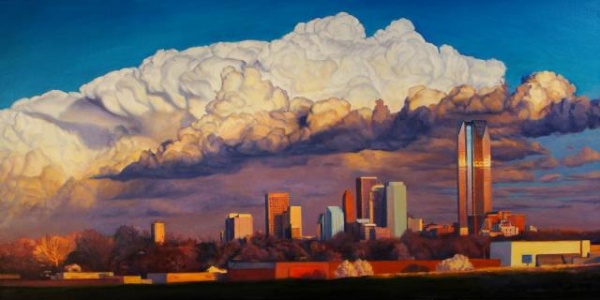
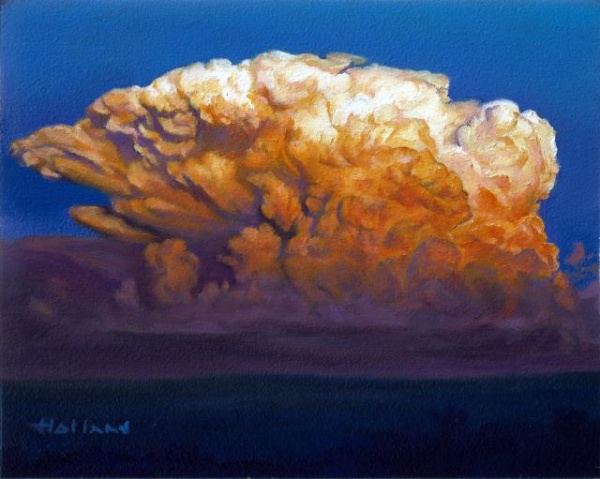
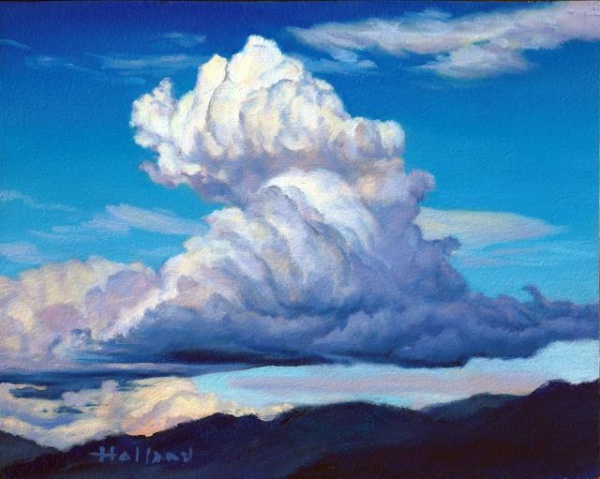
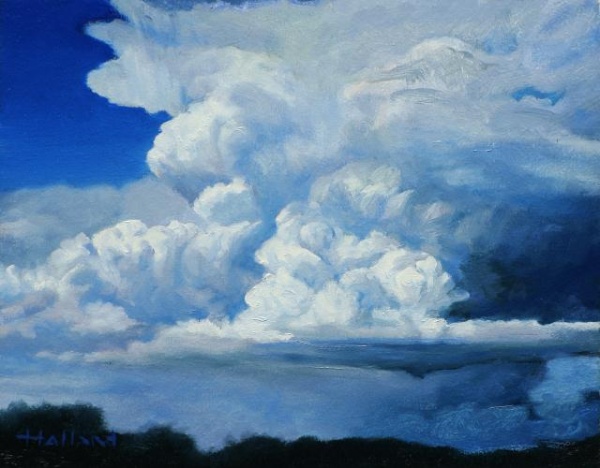
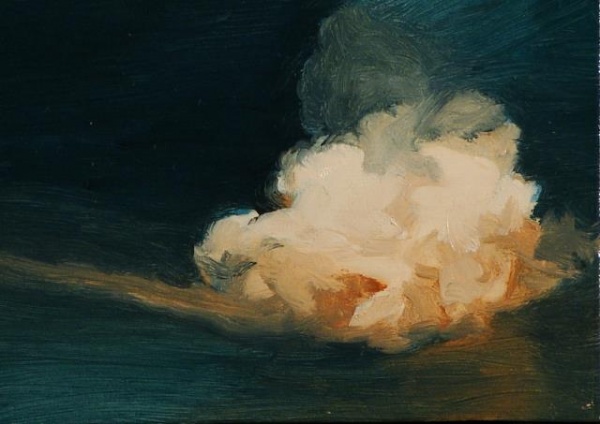
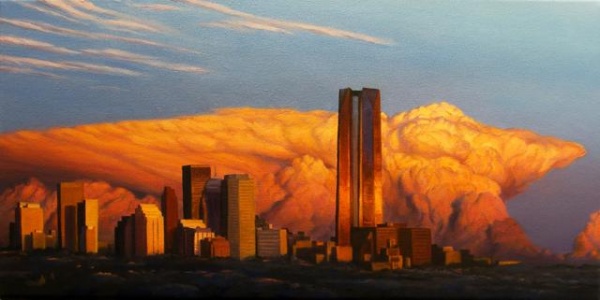
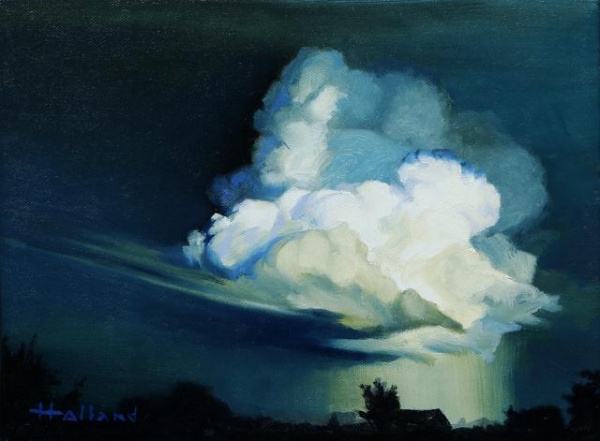
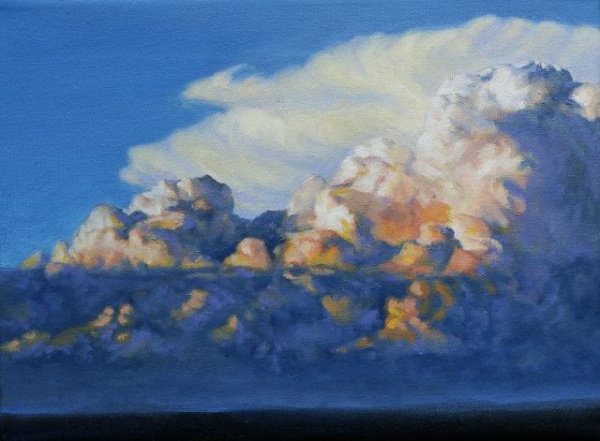
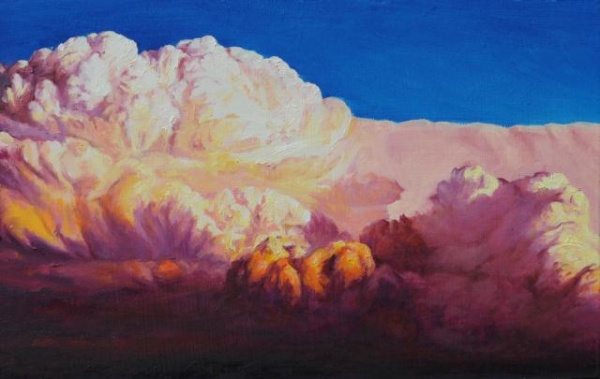
Cloudscapes

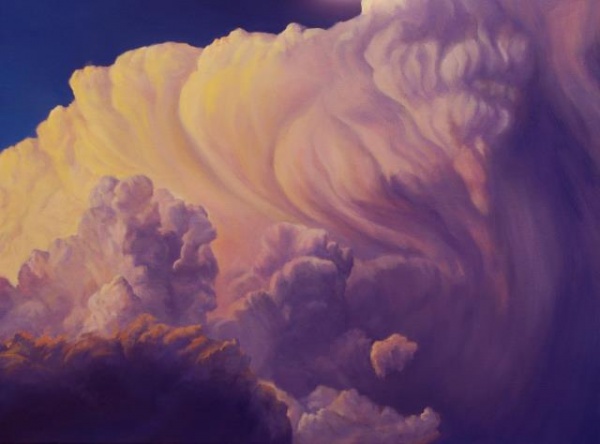
oil on canvas
18"x 24" $2200
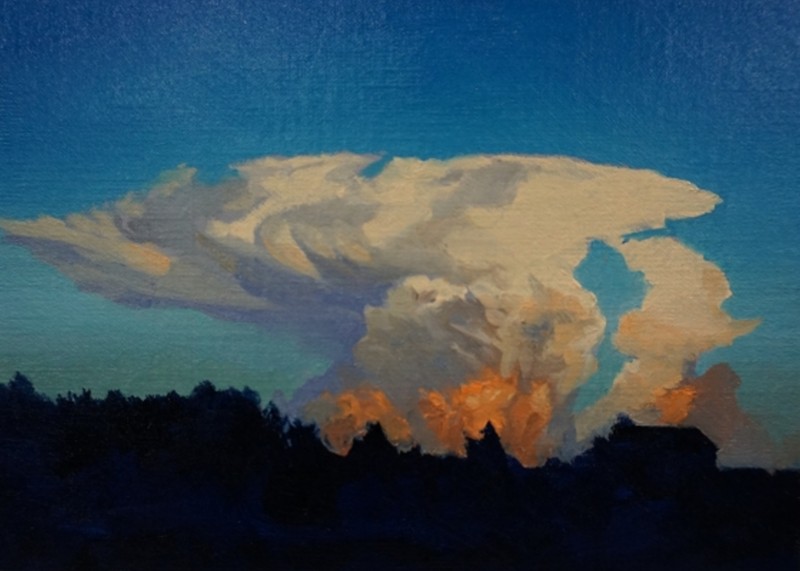
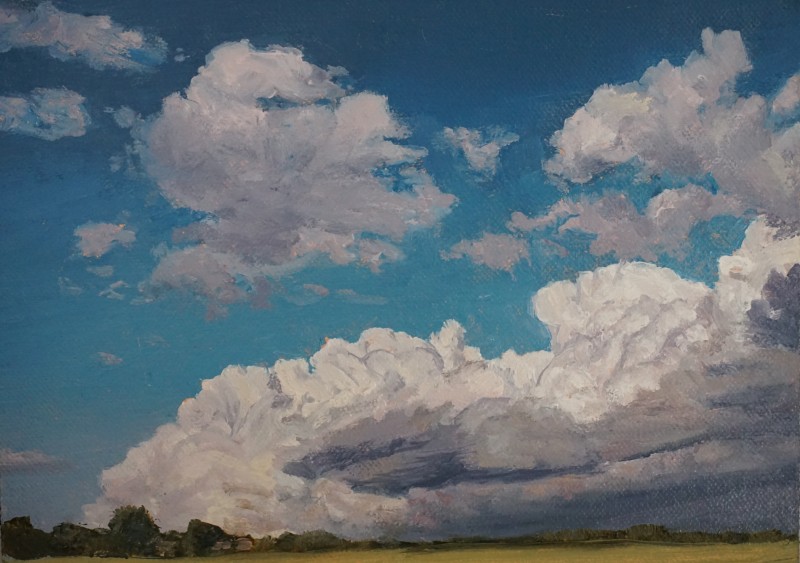
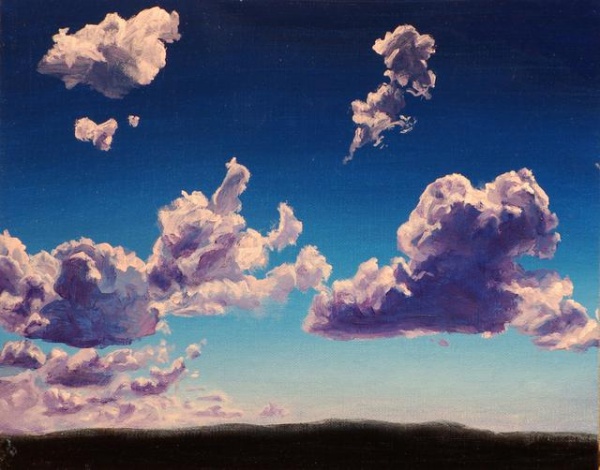
oil on panel
9"x 12" $1200
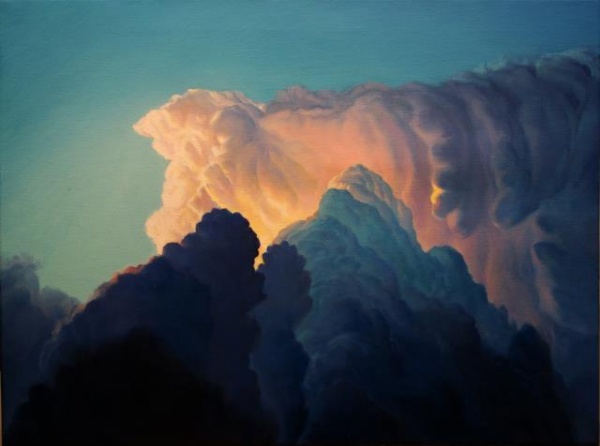
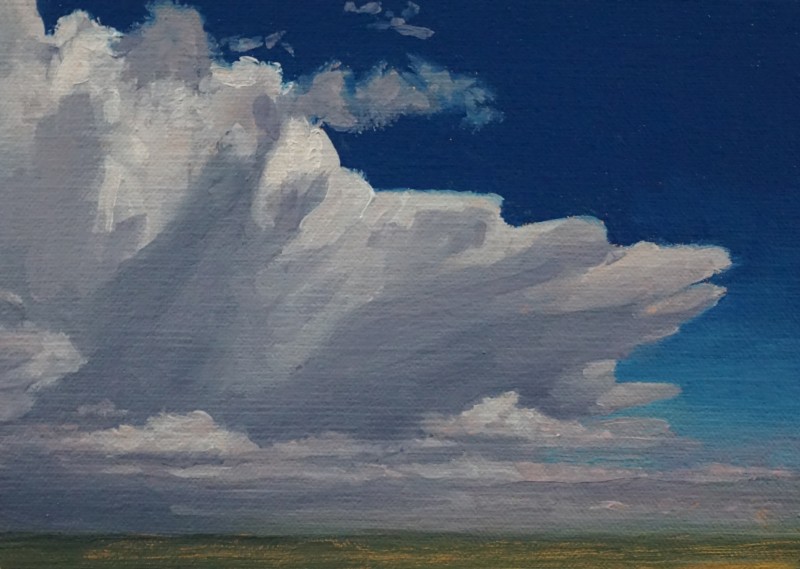
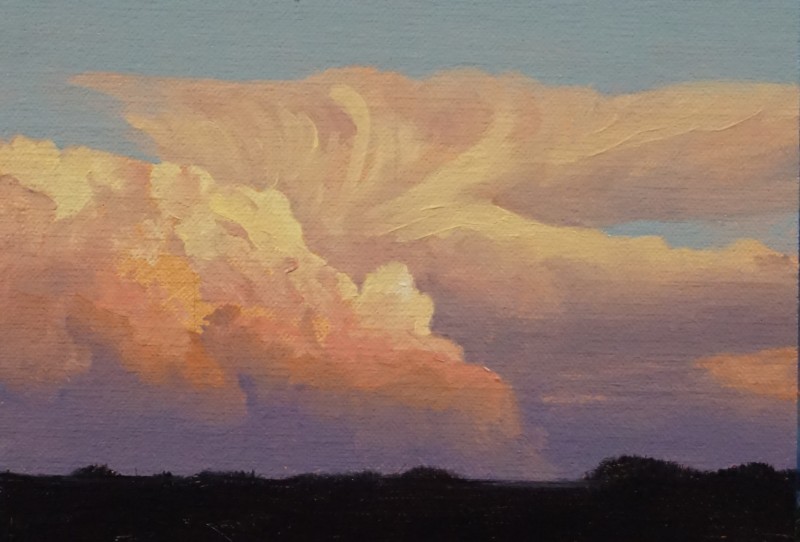
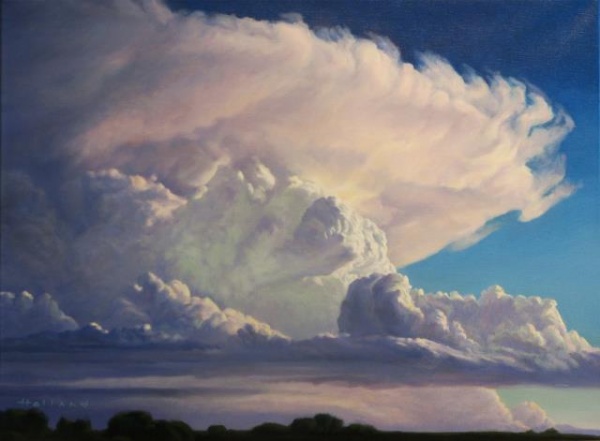
oil on panel
12" x 16" $1700
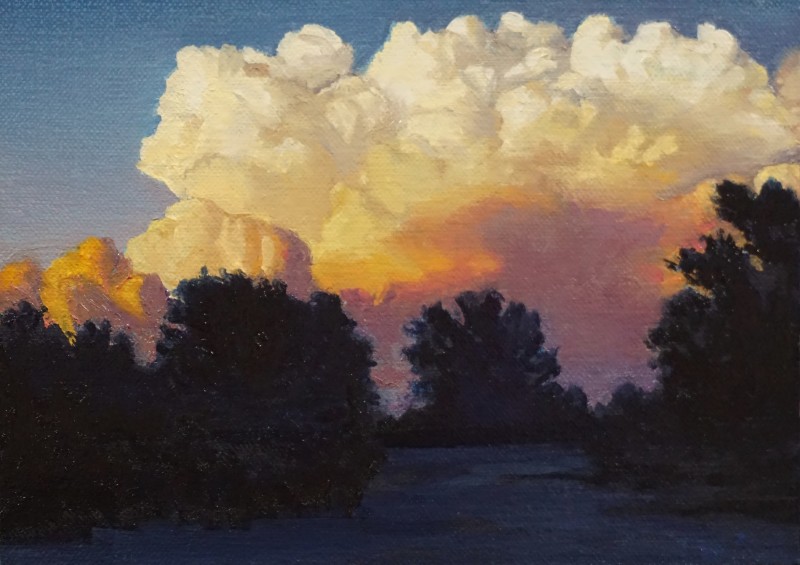
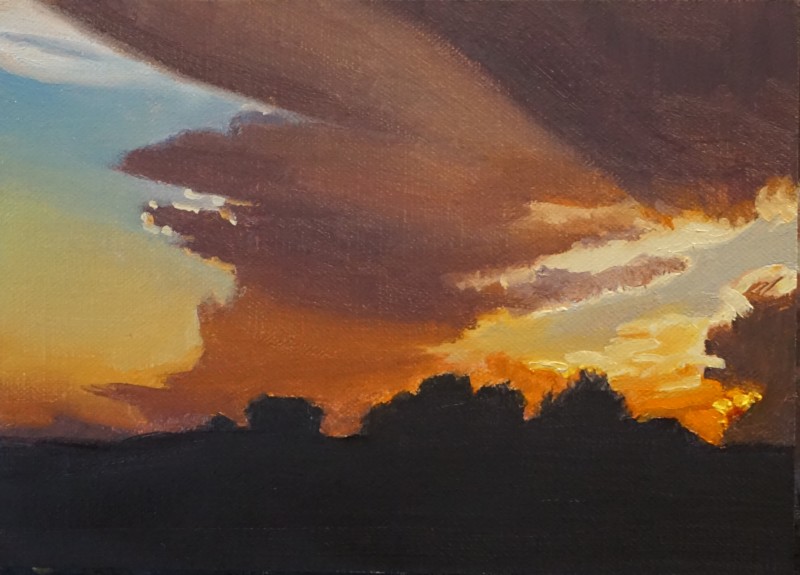
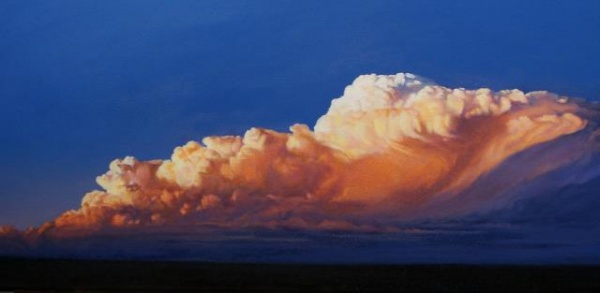
oil on panel
15"x 17" SOLD


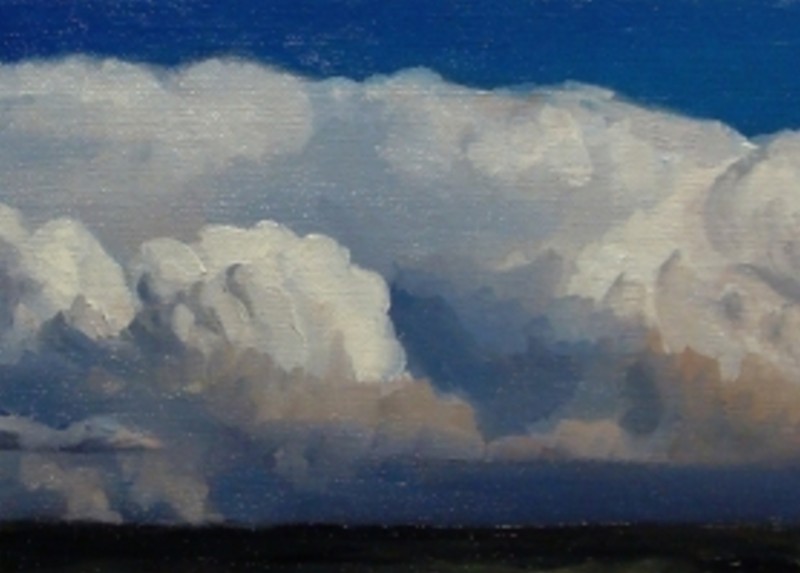
oil on canvas
18"x 24" $2200


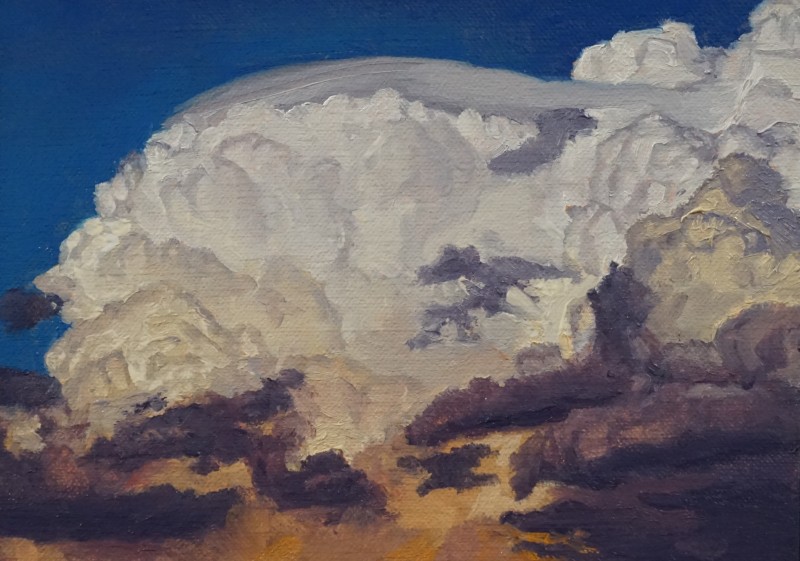
oil on panel
5" x 7" $575
oil on panel
5" x 7" $575
oil on panel
5" x 7" $575
oil on panel
5" x 7" $575
oil on panel
5" x 7" $575
oil on panel
5" x 7" $575
oil on panel
5" x 7" $575
oil on panel
5" x 7" $575
oil on panel
5" x 7" $575

oil on panel
5" x 7" $575
oil on panel
5" x 7" $575
oil on panel
5" x 7" $575

oil on panel
5" x 7" $575
oil on panel
5" x 7" $575

oil on panel
5" x 7" $575

oil on panel
5" x 7" $575

oil on panel
5" x 7" $575

oil on panel
5" x 7" $575

oil on panel
5" x 7" SOLD
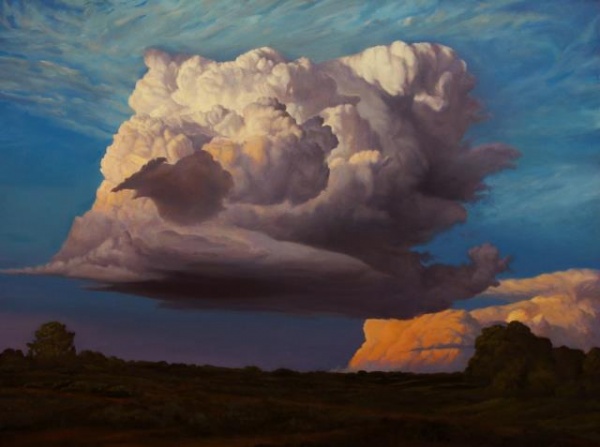
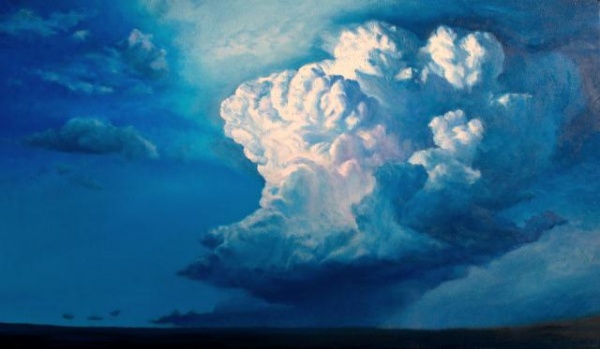
Cloudscapes in Private Collection
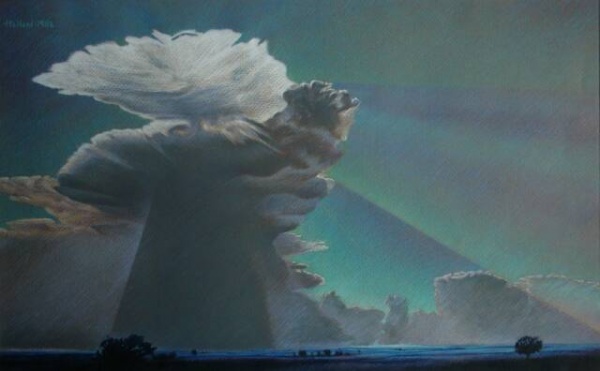
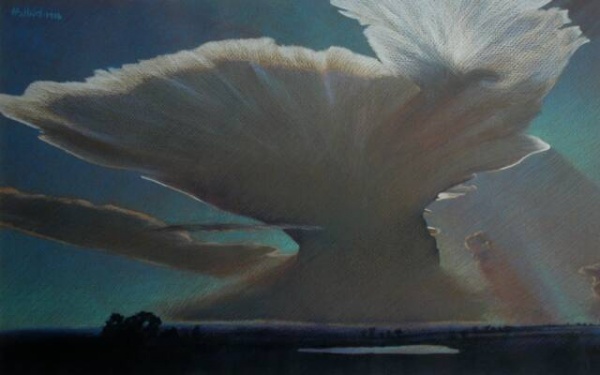

oil pastel on paper
18.5"x 26.5" SOLD
oil on canvas
30"x 40" SOLD
oil on panel
15"x 26" SOLD
oil on panel
22"x 28" Sold
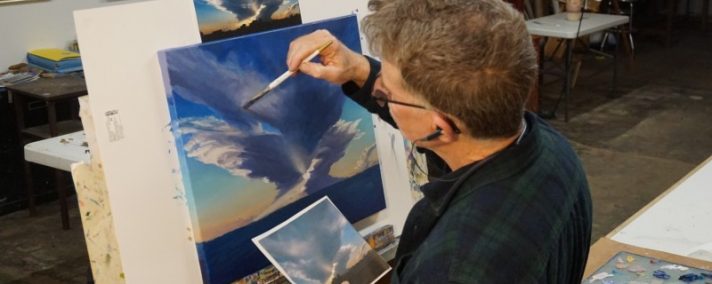
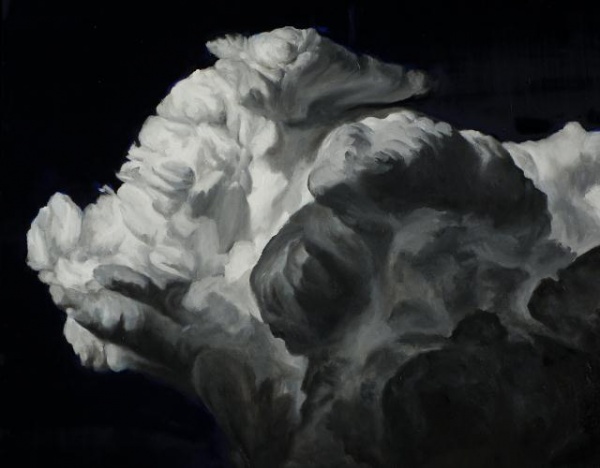
My process for creating clouds that look like clouds.
I’m faced with the challenge of making a cloud look like a cloud, which is not as easy as it sounds.
Clouds are composed of suspended water droplets and at different times can look wispy or solid. The way a cloud is lit makes all the difference in its appearance. They are translucent and reflect light as well as absorb light. Their shapes are infinitely variable and no two are exactly alike, but they all fit into cloud type categories. Instinctively, you know what each cloud type looks like so if I get it wrong it looks like a cartoon of a cloud not a real one. I’m going for realistic, a cloud that’s just floating there in the space of the canvas.
My painting process starts far from an easel with an outing to take photographs. I keep well aware of the weather in my area and am fortunate to live in Oklahoma where forecasting is state-of-the-art. When storms are likely to fire up, I make sure my camera battery is charged and watch the radar to see when and where they may develop. I have previously scouted out locations that have unobstructed views of the sky down to the horizon, because I want my source photos to capture the structure of the whole storm from the top to the bottom.
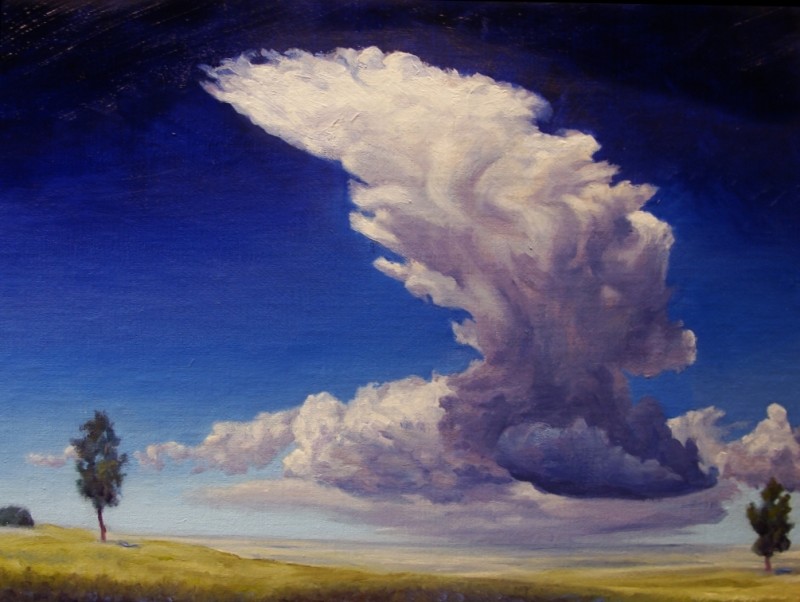
Isolated single thunderheads are my ideal subjects.
Late evening storms are the best. The angle of the sunlight gives each bump in the cloud a highlighted area and a shadowed area that makes the structure of each convective cell visible and makes them easier to represent in paint. The cloud will also begin to cast shadows onto itself which enhances the 3-dimensional character of the whole cloud. Late evening storms reflect the colors of the setting-sun and they evoke the highest emotional response from me and from you if you actively view one of my paintings.
Clouds change very quickly, both their shape and their color. Their motion is almost imperceptible to our eyes yet when I look at the photos I’ve taken of a storm, even though the photos may have been taken only seconds apart, if I compare two shots side by side, I can see huge differences between them. While I’m photographing a developing storm, I never know which photo will capture the storm at its most dramatic stage.
I’ll take anywhere from 1 to 300 shots of a developing storm. I’ll take close up shots, far away shots, panoramic shots, close up panoramic individually framed shots that have to be taped together side to side to make up a complete close-up panorama; shots for color reference, shots for outline reference, some really dark shots to bring out the highlight detail, really light shots to bring out the detail in the darkest areas.
I love drama in my storm paintings, so I look through my photos later for the dramatic shots that say “paint me”. After picking out a cloud to paint, I print out a copy of the photo for reference. Then I use the brightness feature of my photo software to darken the image and print that out. Then I lighten the image and print that out. The dark one gives me reference details in the lightest areas that are usually too bleached out to see and the light one gives me details in the areas that are usually too dark to pick out.
I take the photo and fold it into halves, then the halves into halves resulting in 16 smaller rectangles. With a ruler I draw a 16 box grid on the canvas and can then transfer block by block the photo image to the canvas in pencil and get it correctly proportioned. When I get a simple line drawing down, I pencil in any details I know I want kept in the finished painting, like the edge of a shadow or a particularly complex pattern of “bump” details. Depending on the size of the painting this stage can take 1 to 5 days. I should mention that I work in oil, and I smear the goo around with some pretty basic brushes.
“Paint me” clouds become painted clouds in two different ways. The first is just look at it and go for it, essentially drawing the picture with the paint. I do that sometimes, but more often will use the more methodical approach so I can get a more accurate representation of what I saw.
I’ve recently been undercoating my canvases before the grid stage with a warm pinkish tan color mixed with a little Liquin to make it spread easier and dry faster. This makes it easy for me to keep areas of that color in the finished piece by not painting over them. It also keeps those little white dots that recede due to the weave of the fabric from ever being a problem later.
When I start laying in color on a canvas, I usually start with defining the outside outline of the storm along the top by using the background sky color and coming down to the edge of the cloud, then use the lightest color of the top of the storm to bring the edge of the cloud up to the background color. First, I pick out where the lightest parts of the storm are and put in those highlights. Second, I pick out the darkest part of the cloud and put in those shadows. I think of the individual bumps in the cloud as being shaped like little domes. Domes have highlights and shadows and widen at the base like clouds.
Painting in the domes is the most fun part for me in making a cloud look like a cloud. I try to recall from memory what colors were in the cloud I witnessed and premix them on my palette before I start painting. My palette is a thick glass sheet that used to be a refrigerator shelf with a cheesy fake gold metal edge along one side.
I mix up all the colors I plan to use that day. which is usually around 10 colors. I prepare shadow colors, both warm and cool, both light and dark. And I prepare highlight colors, both warm and cool in both light and dark and then paint alternating back and forth between the highlights and the darkest areas, then bring in mid tones and work on filling in the whole canvas with a coat of paint. At the end of every painting session, I wipe off the palette knives, use odorless thinner to clean out my brushes, put my palette in the freezer to keep overnight and then go home.
I love detail. I could keep adding detail to a cloud till the cows come home. The more you look at a cloud the more detail you become aware of. I get intimately visually acquainted with every cloud I paint. It’s their intricacy that fascinates me and makes me want to capture their complex patterns. But then reality rears its ugly head. There’s only so much time in a day for you to paint. You have to finish the piece, leave it and move on. Leaving it is one of my biggest personal artistic challenges. Knowing when to, is the most difficult. Knowing how to, is easy, you just stop. I stop when I’m happy with how it looks.
The length of time it takes me to complete a painting varies with the size and intricacy, a 5×7 inch will take 1 to 7 days, a 30×40 inch will take 2 to 3 months and 8×10 will take 2 to 3 weeks. I finish the painting by bumping up the intensity of the brightest highlights and deepening the shadows and by intensifying certain colors until I’m happy with what I see.
So you may be wondering why it matters and why it matters to me.
In a nutshell, I see storms as a blessing. They provide water, the building block of all life on Earth. Without water we couldn’t exist. Clouds deliver water. Clouds are the physical representation of Earth’s water delivery system. Lucky for me clouds ARE visible and storms ARE visually stunning. I love watching them. I love seeing their power. It’s honest. It’s majestic.
Clouds are the visual currency of life on Earth. Clouds are the vehicle by which we are sustained as they distribute their bounty and deliver their gold.